


Portfolio
A huge lifting of the curtain at how my style has changed over the years, taking my editing game to where I feel right at home.
Creating work and telling stories has personally evolved hugely over many years. The composition and way of using the camera to tell these stories is totally the main element of getting the pictures I want to do that, but after that… oh boy there’s a whole world which doesn’t become quite so obvious to the viewer and probably accounts for so much of that final image and the mood you want to portray. And that part is the style. I think this part honestly wasn’t obvious to me at all when I first started shooting weddings all those years ago, but as time moved by, I overloaded myself with information and took the first few bay steps into playing around with editing software and learning just how I wanted my pictures to feel. Taking inspiration off a whole number of incredible photographers who’s work I adored, I could create pictures that truly felt like mine. The good thing now and huge win *hands in the air kinda win*, is that people often see my work pop up and recognise it as mine before actually seeing who the photographer is, whether it be because of the emotion in the picture or the tones and colours. That thought honestly has me beaming from ear to ear!! But anyway… I digress. Figuring out how you want your pictures to look and feel is such a huge moment for a photographer. Once that base layer has been figured out, it’s then a matter of tweaking over the years as your styles change. Weirdly it’s very like how we change as people, your style can change along with it. So for me personally, after the early years of using some pretty horrific presets and not really understanding what I wanted at all, I started again from scratch. Delving deep and working out what kind of depth I wanted my pictures to have, the tones, the feeling and trying to encapsulate some of my loves and passions into that too. That’s when I came across Archipelago. A team of artists who embrace their love of art, adventure and of course, the mountains, and take inspiration from that to create amazing presets; the earthy tones, the golden hues and the love of natural light. And boom, I’d found my base.
From that base, which I was so damn happy to use with the first few years of finding it without having to tinker much at all, I started to work out how I wanted to build on that, into something that wasn’t just a pre-planned preset but something that really had my personal touch to it too, and over the years it evolved into what it is now. And I apologise if this is tmi but hey, I’m in my element talking about this, so just try and stop me, haha. But It started with wanting to add more warmth to my shots, and to do that I started adding some yellows into the shadows of my pictures which helped give them a deeper undertone. I then started learning and teaching myself to become a little bit bolder with experimenting with the use of white balance and the colour slide bars to really give the pictures the tones I wanted. From the skin tones, to the temperature of the overall shot, to the sky blues, all of it. I then started experimenting with different Archipelago profiles to go on top which effect both the luminance and contrast of the pictures until I found a range I was super happy with.
I mean ultimately, each image is totally different. Requiring different tweaks, white balance etc, but getting to a stage where I’m happy with how I want my pictures to look and feel is just one crazy huge personal win. But to get to that win meant having a better understanding of light. I mean, it’s just everything in photography, but how to use it (it’s a constant learning process), and how the slightest change can totally change the feel of an image. On top of that, another huge addition to achieve images I was becoming happier with, was by starting to shoot in Kelvin. If you unsure what Kelvin is, it’s basically the measurement of differing temperatures of light. From ice cold blues through to searing hot warm oranges. So for example, if you pick up any bulb package, you’ll see a number on the side… that corresponds to the Kelvin of that bulb, and boom, there it is, measured on exactly the same scale. And in the photography world, that’s how the white balance of images is measured too. But back in the past I would always shoot on the easier mode of ‘Auto white balance’ and worry about the temperate later on in Lightroom when editing, but I’m always one for wanting to be super happy with the picture when I look at the back of the camera, so understanding the measurements and Kelvin and changing the temperature for every different scenario I photograph in is what I’m all about now and I adore it!! I just love to see what’s happening on the back of the camera and to give my Raw images the white balance I want straight out of camera, and what can I say, total personal game changer! it requires less messing around with in post processing, and I literally now find myself looking at any kind of light and thinking “hmmmm, this feels like 5800 Kelvin”. Yep, it’s so damn nerdy but hey *shrugs shoulders*, life is all about being nerdy, haha.
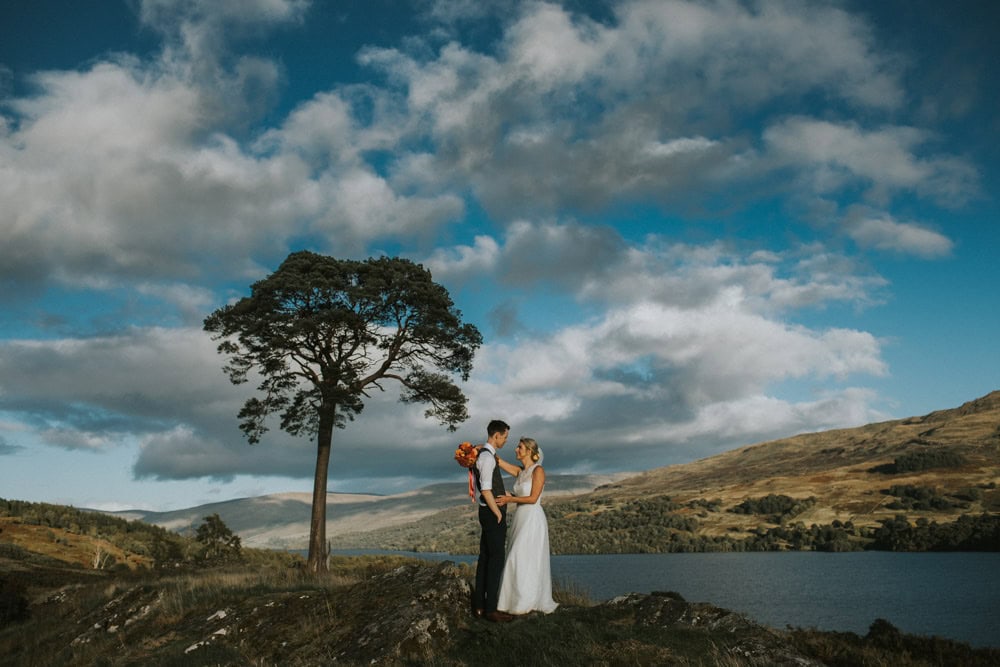
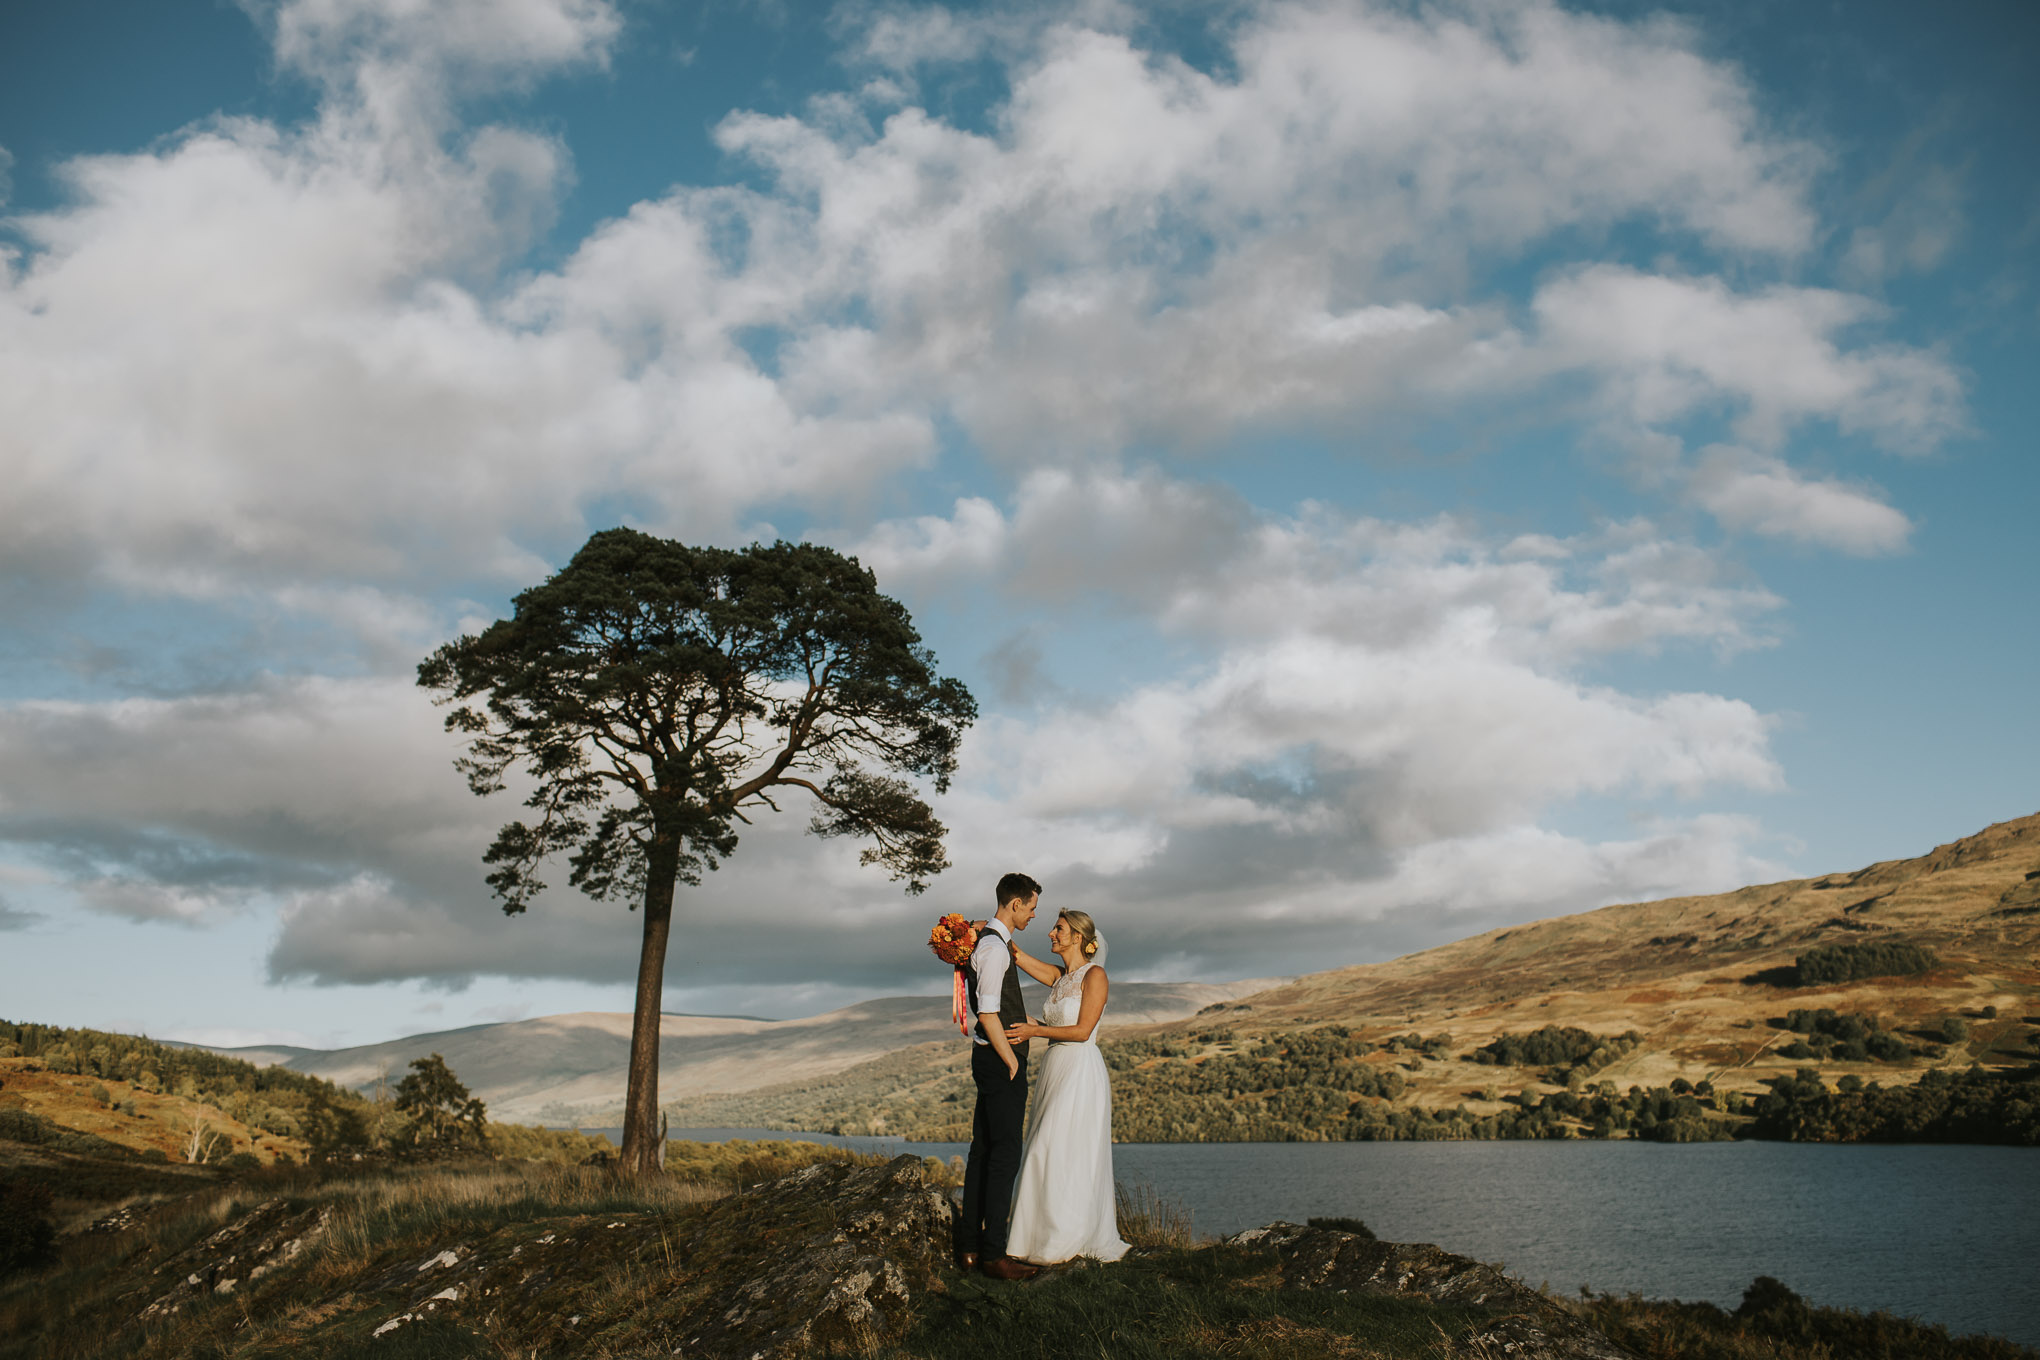
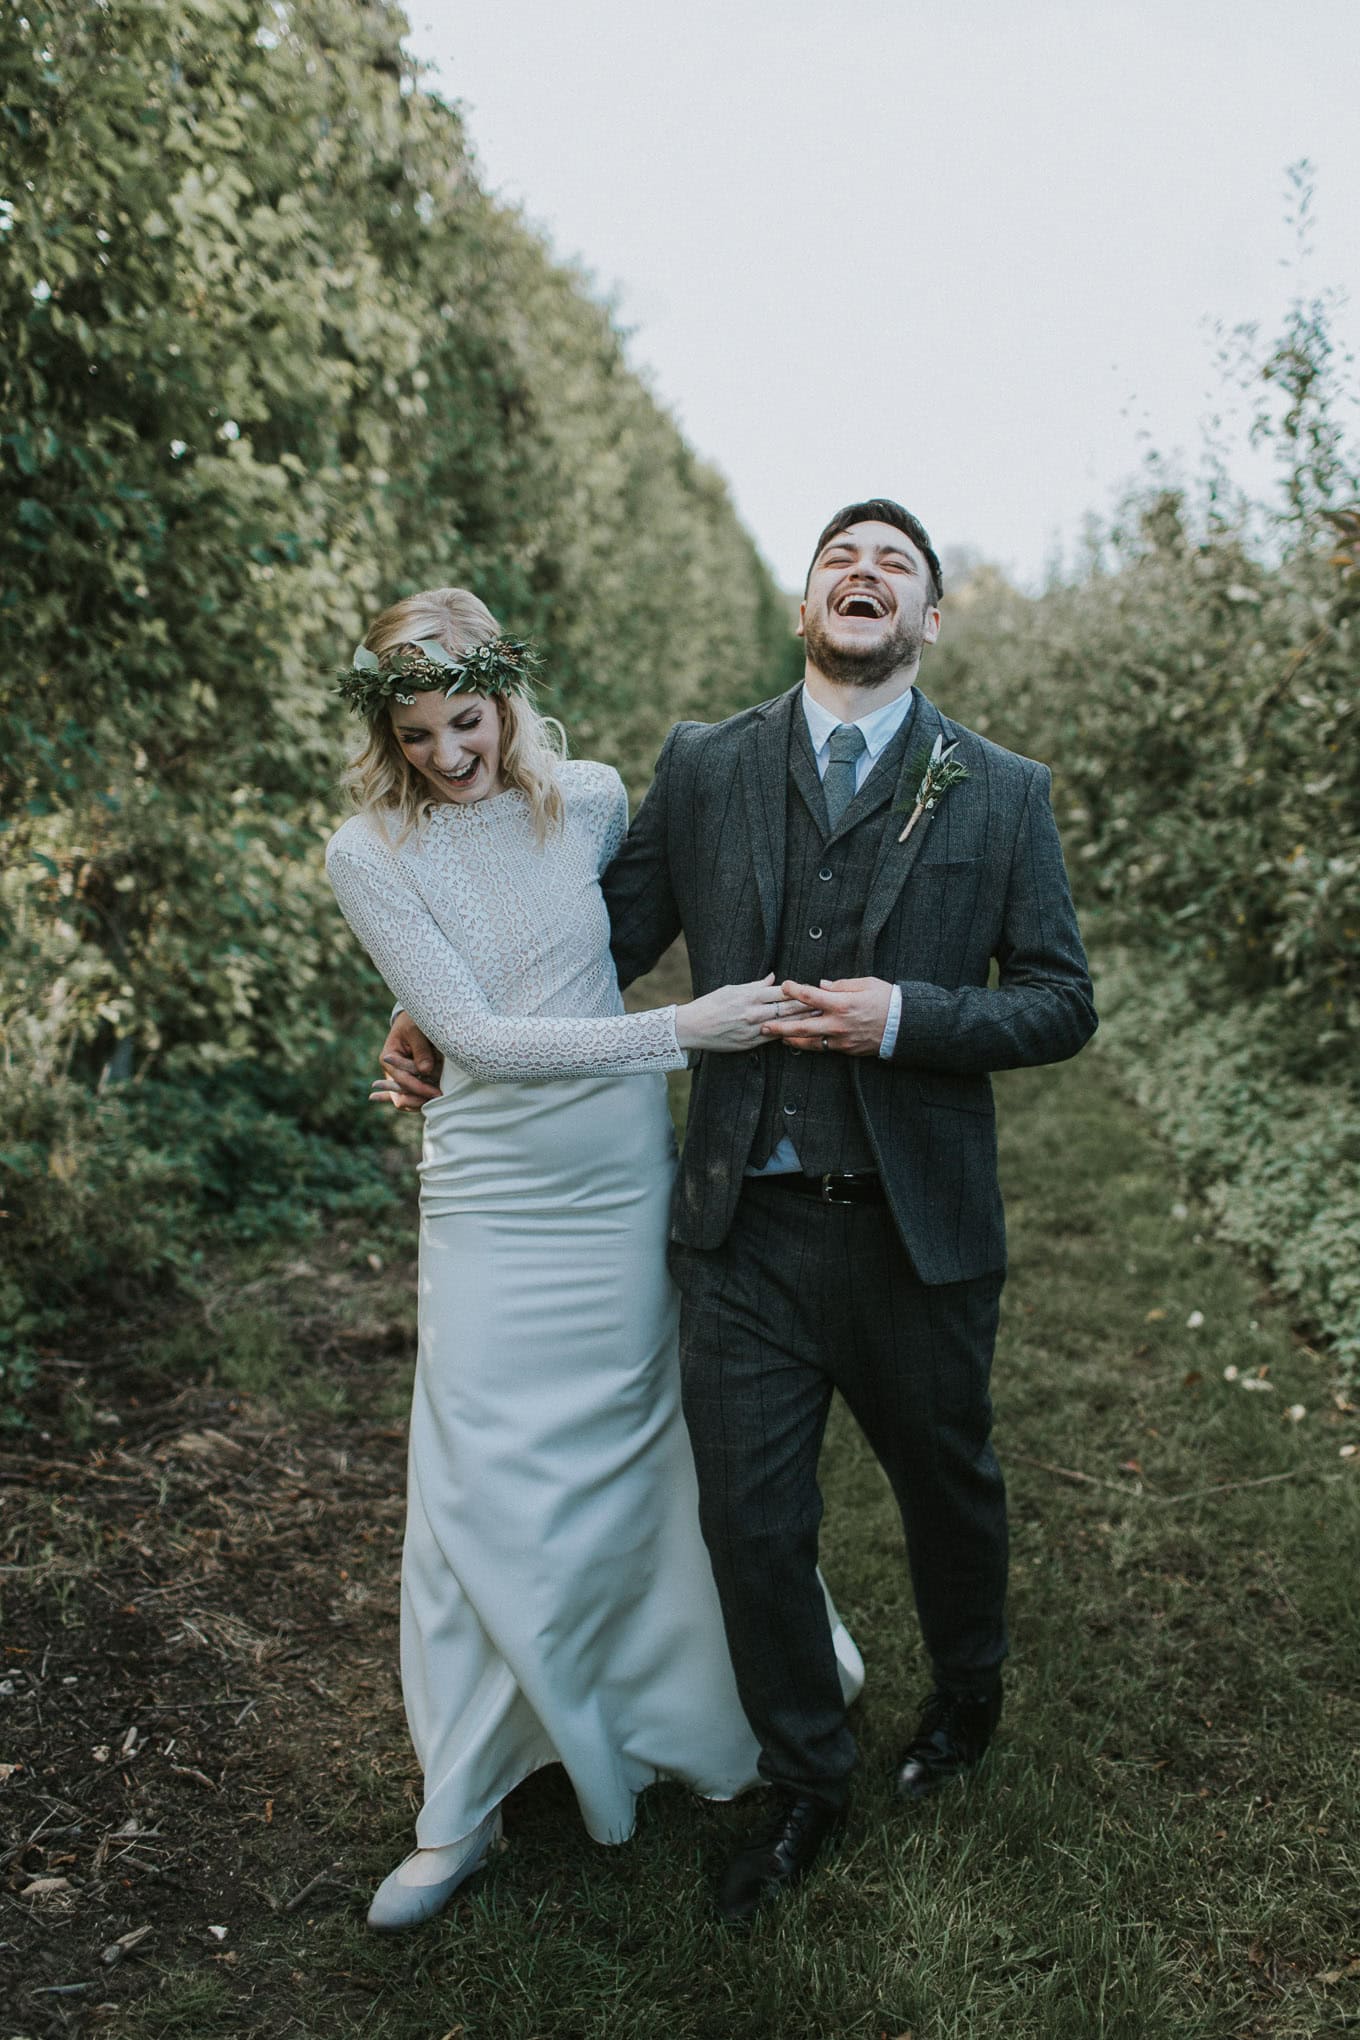
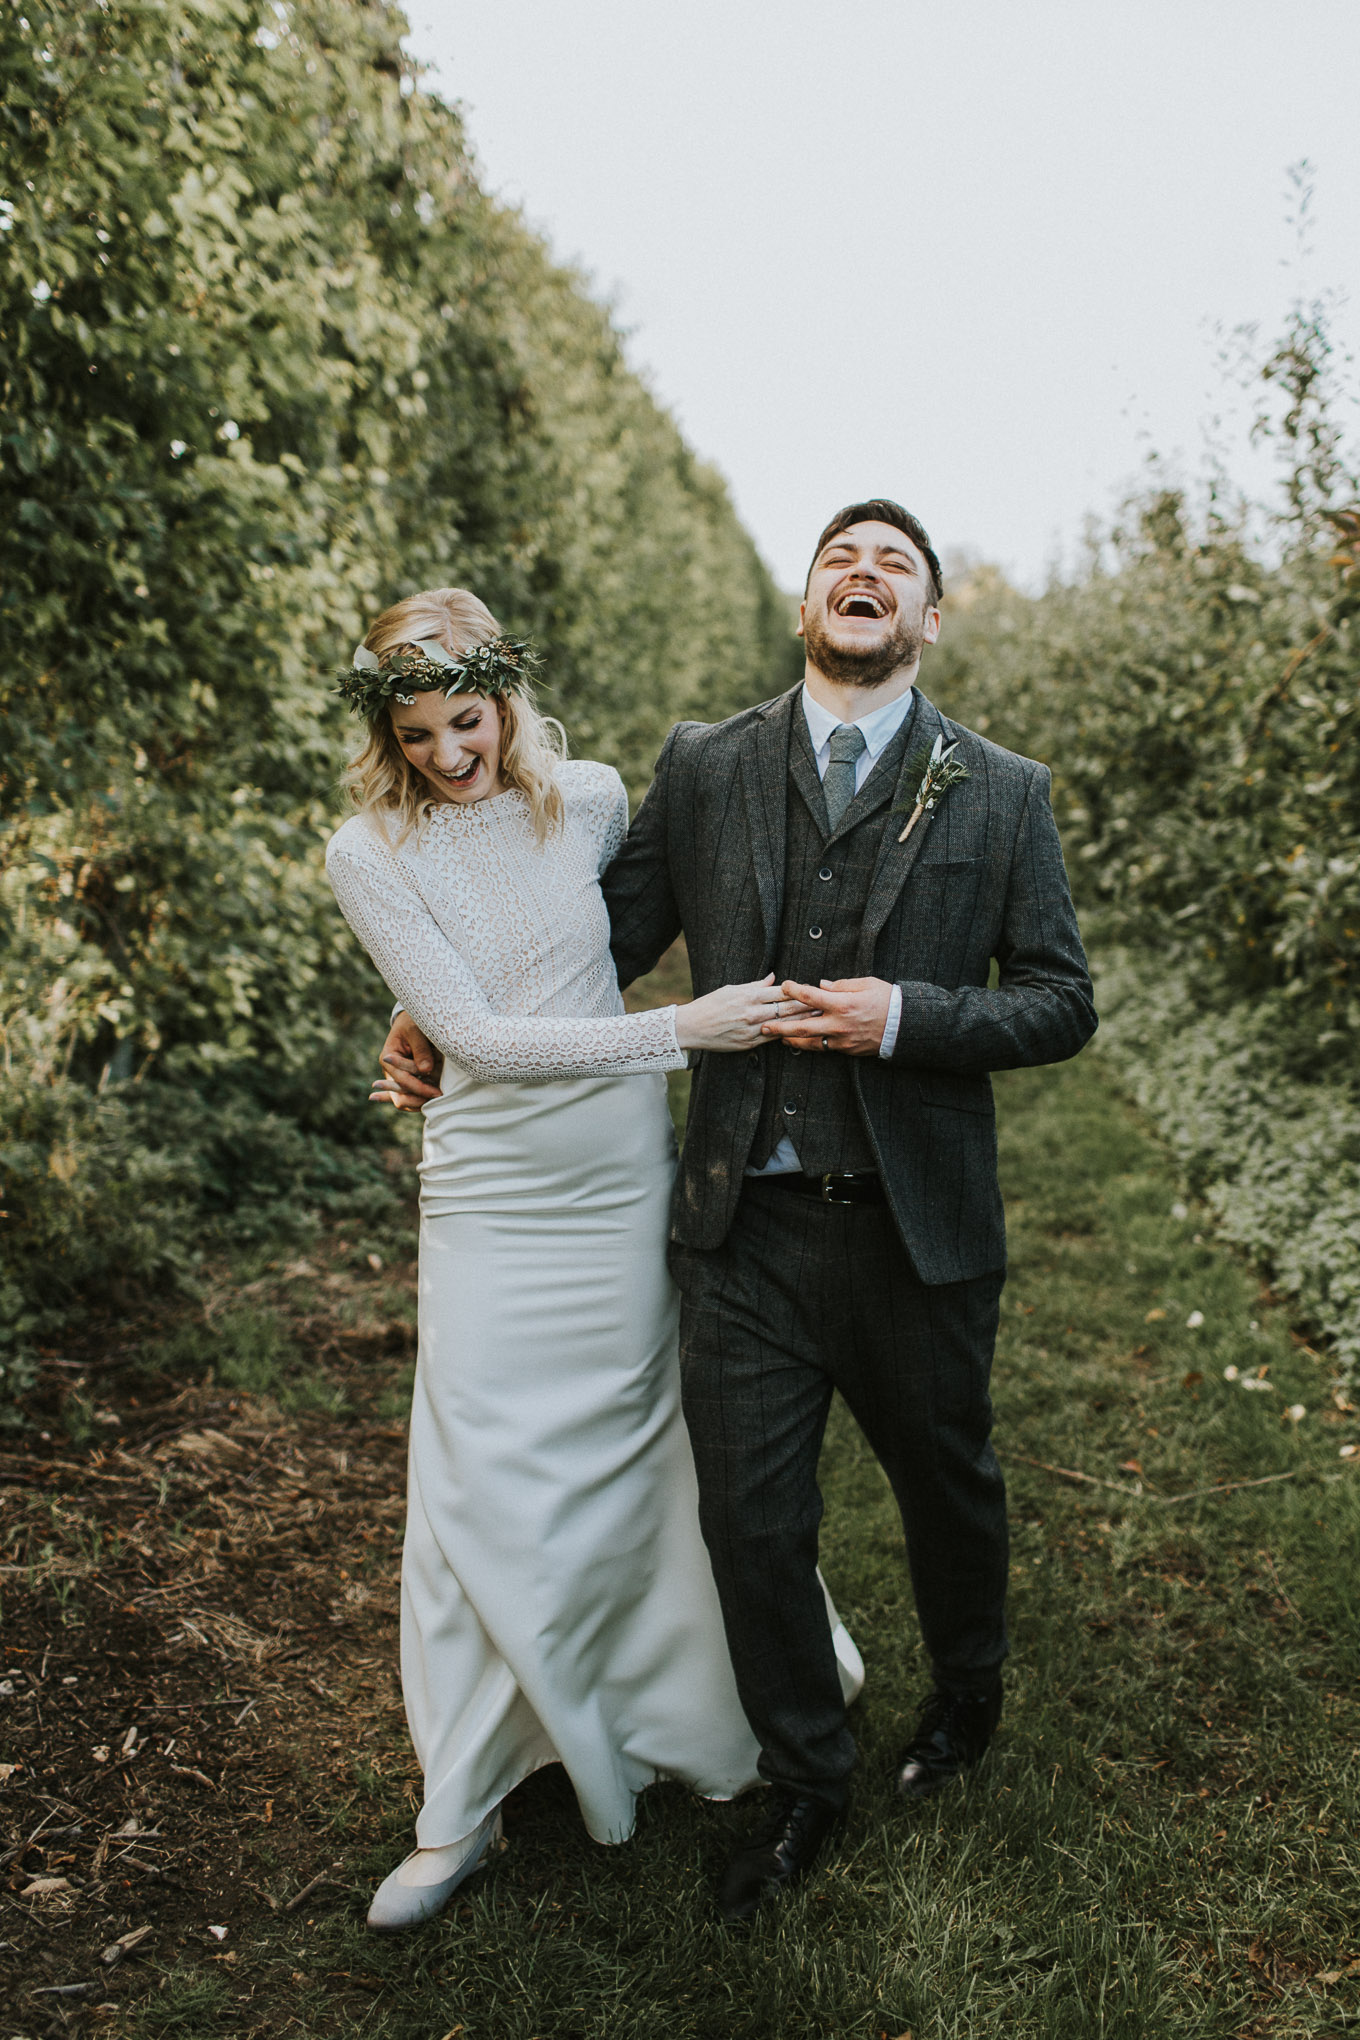
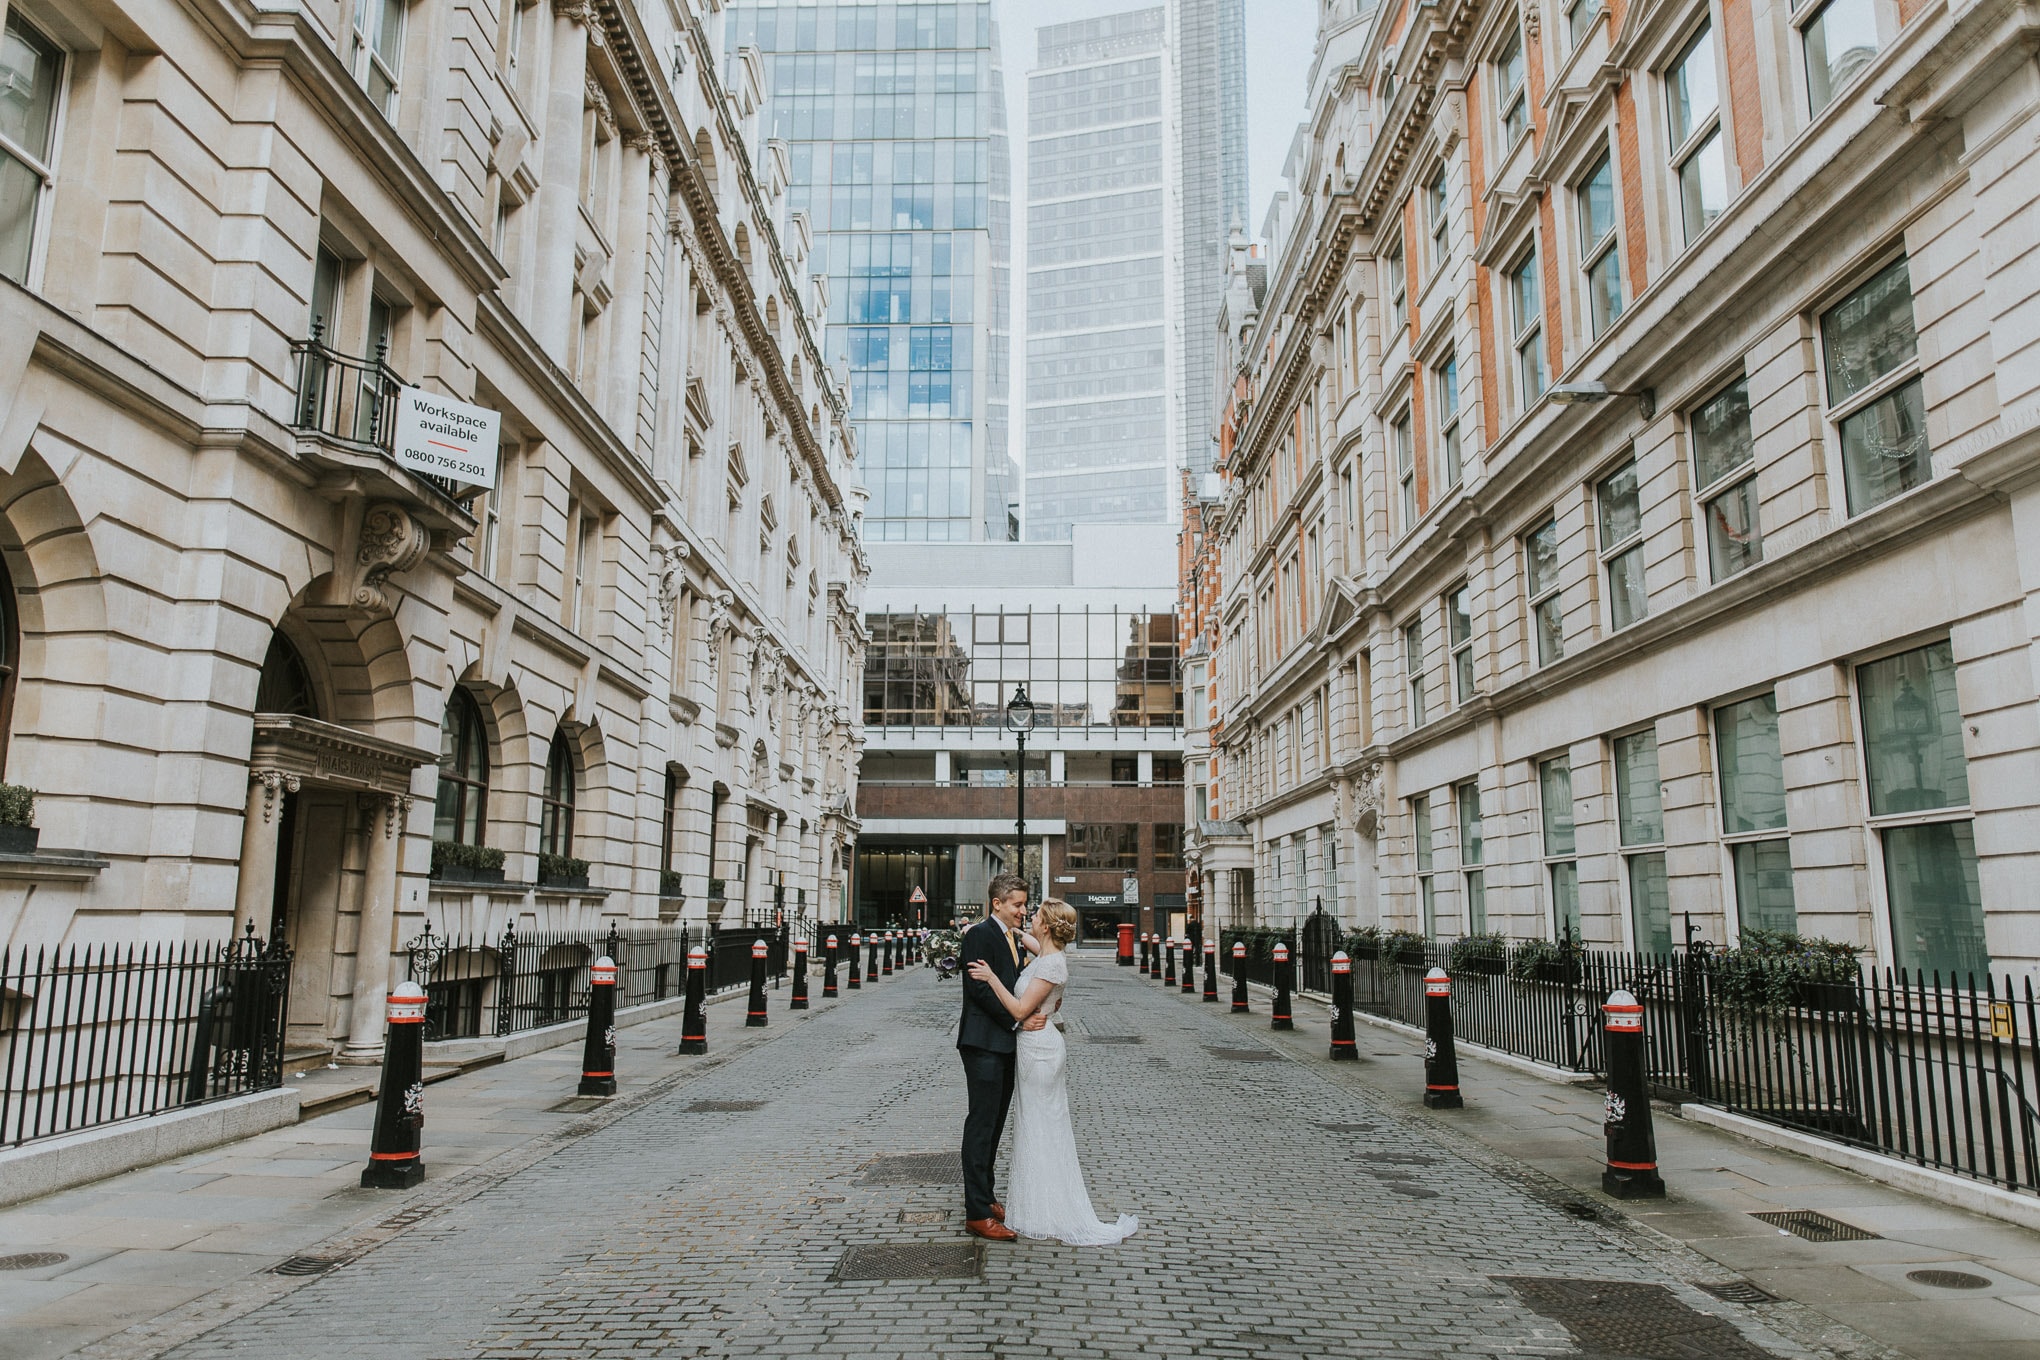
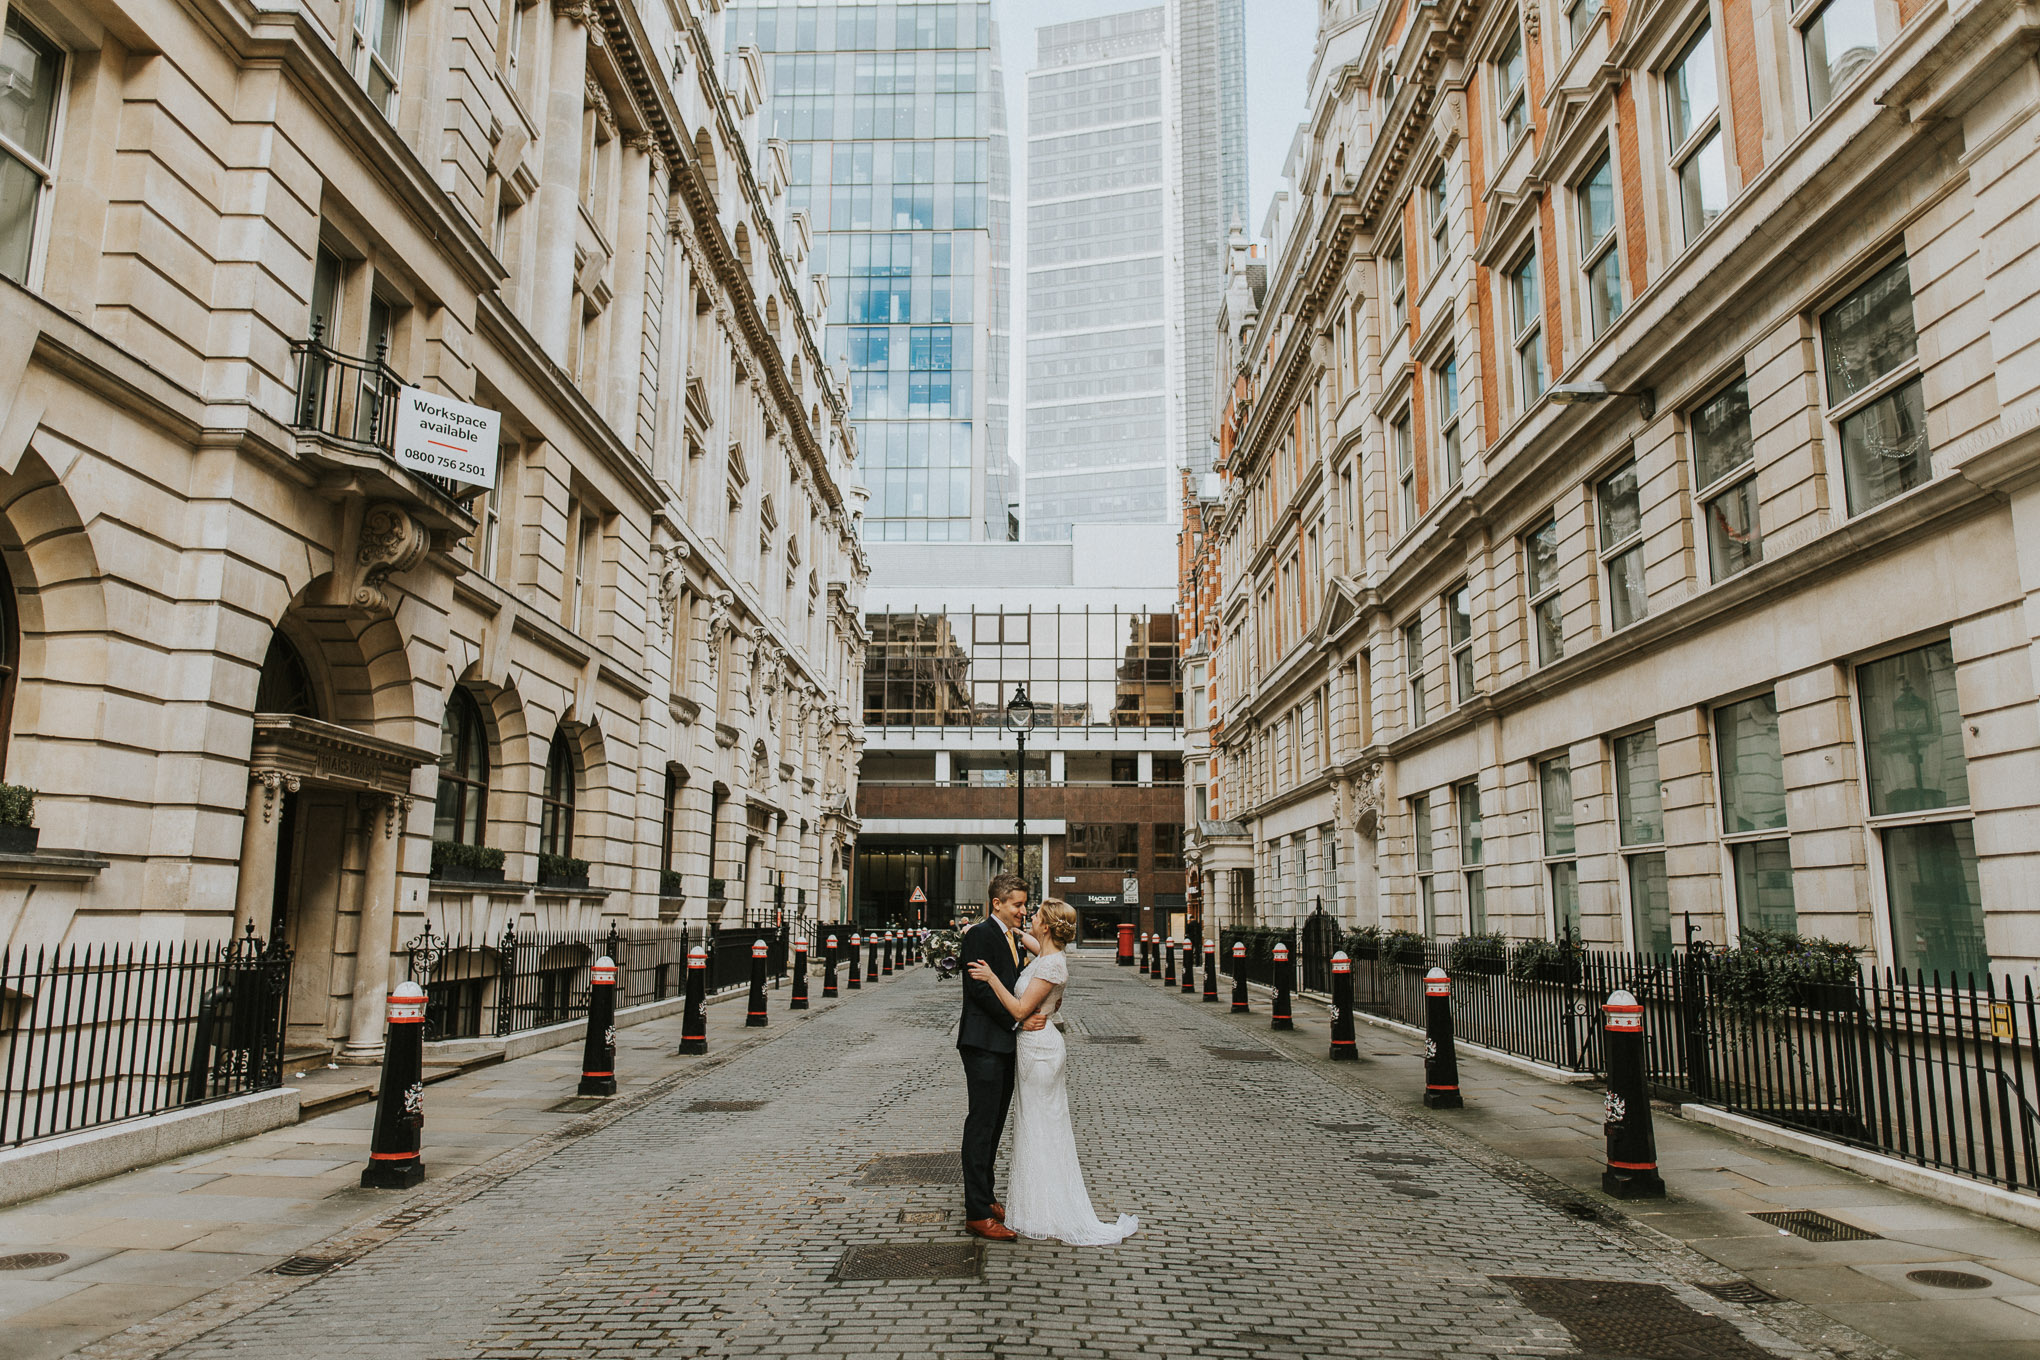
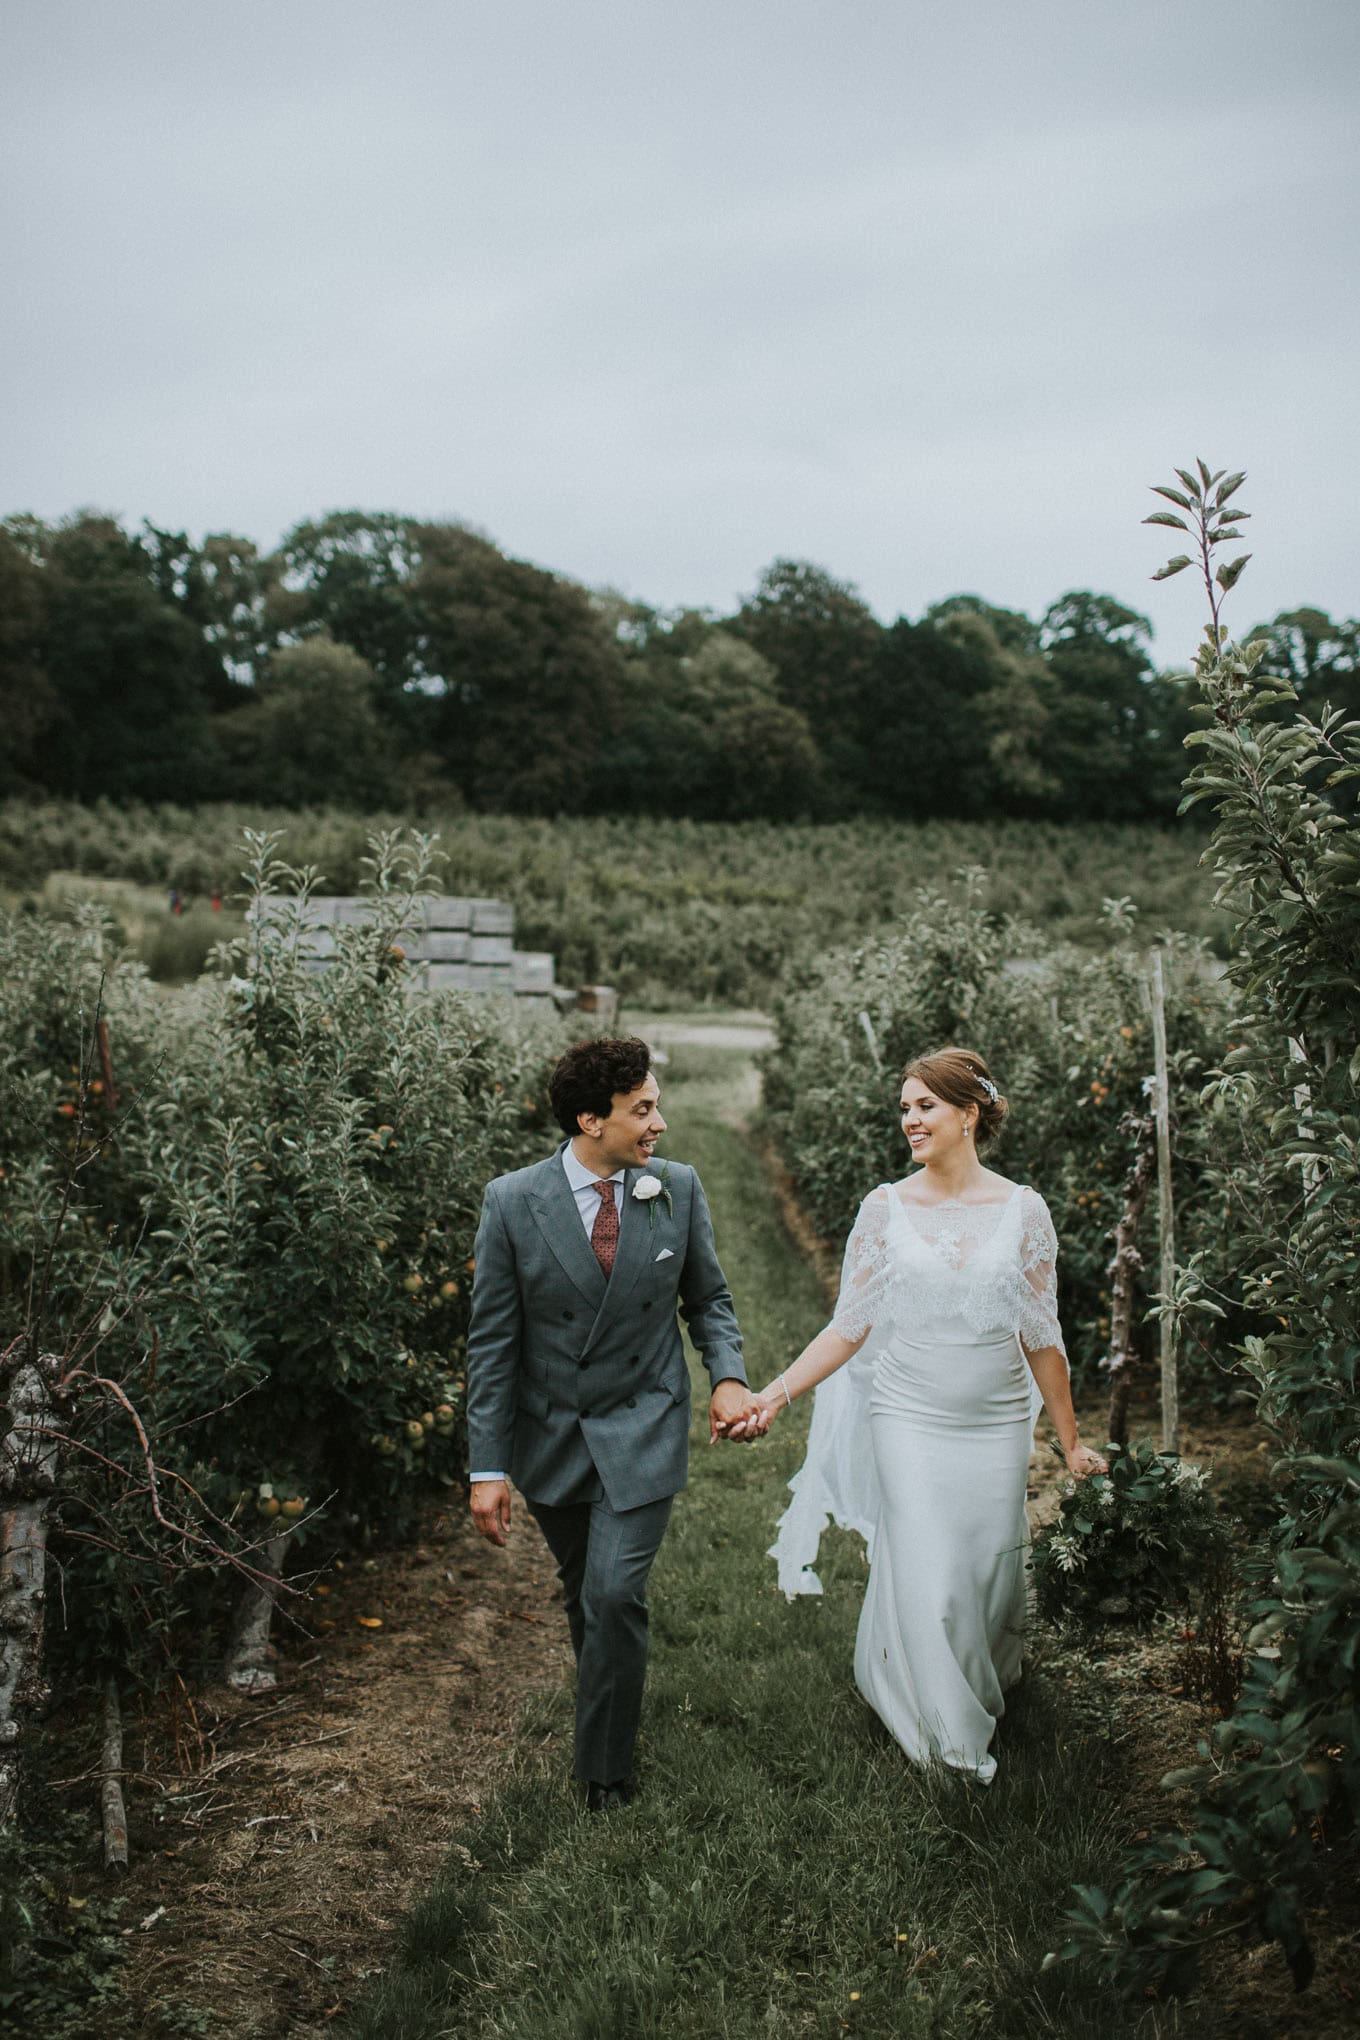
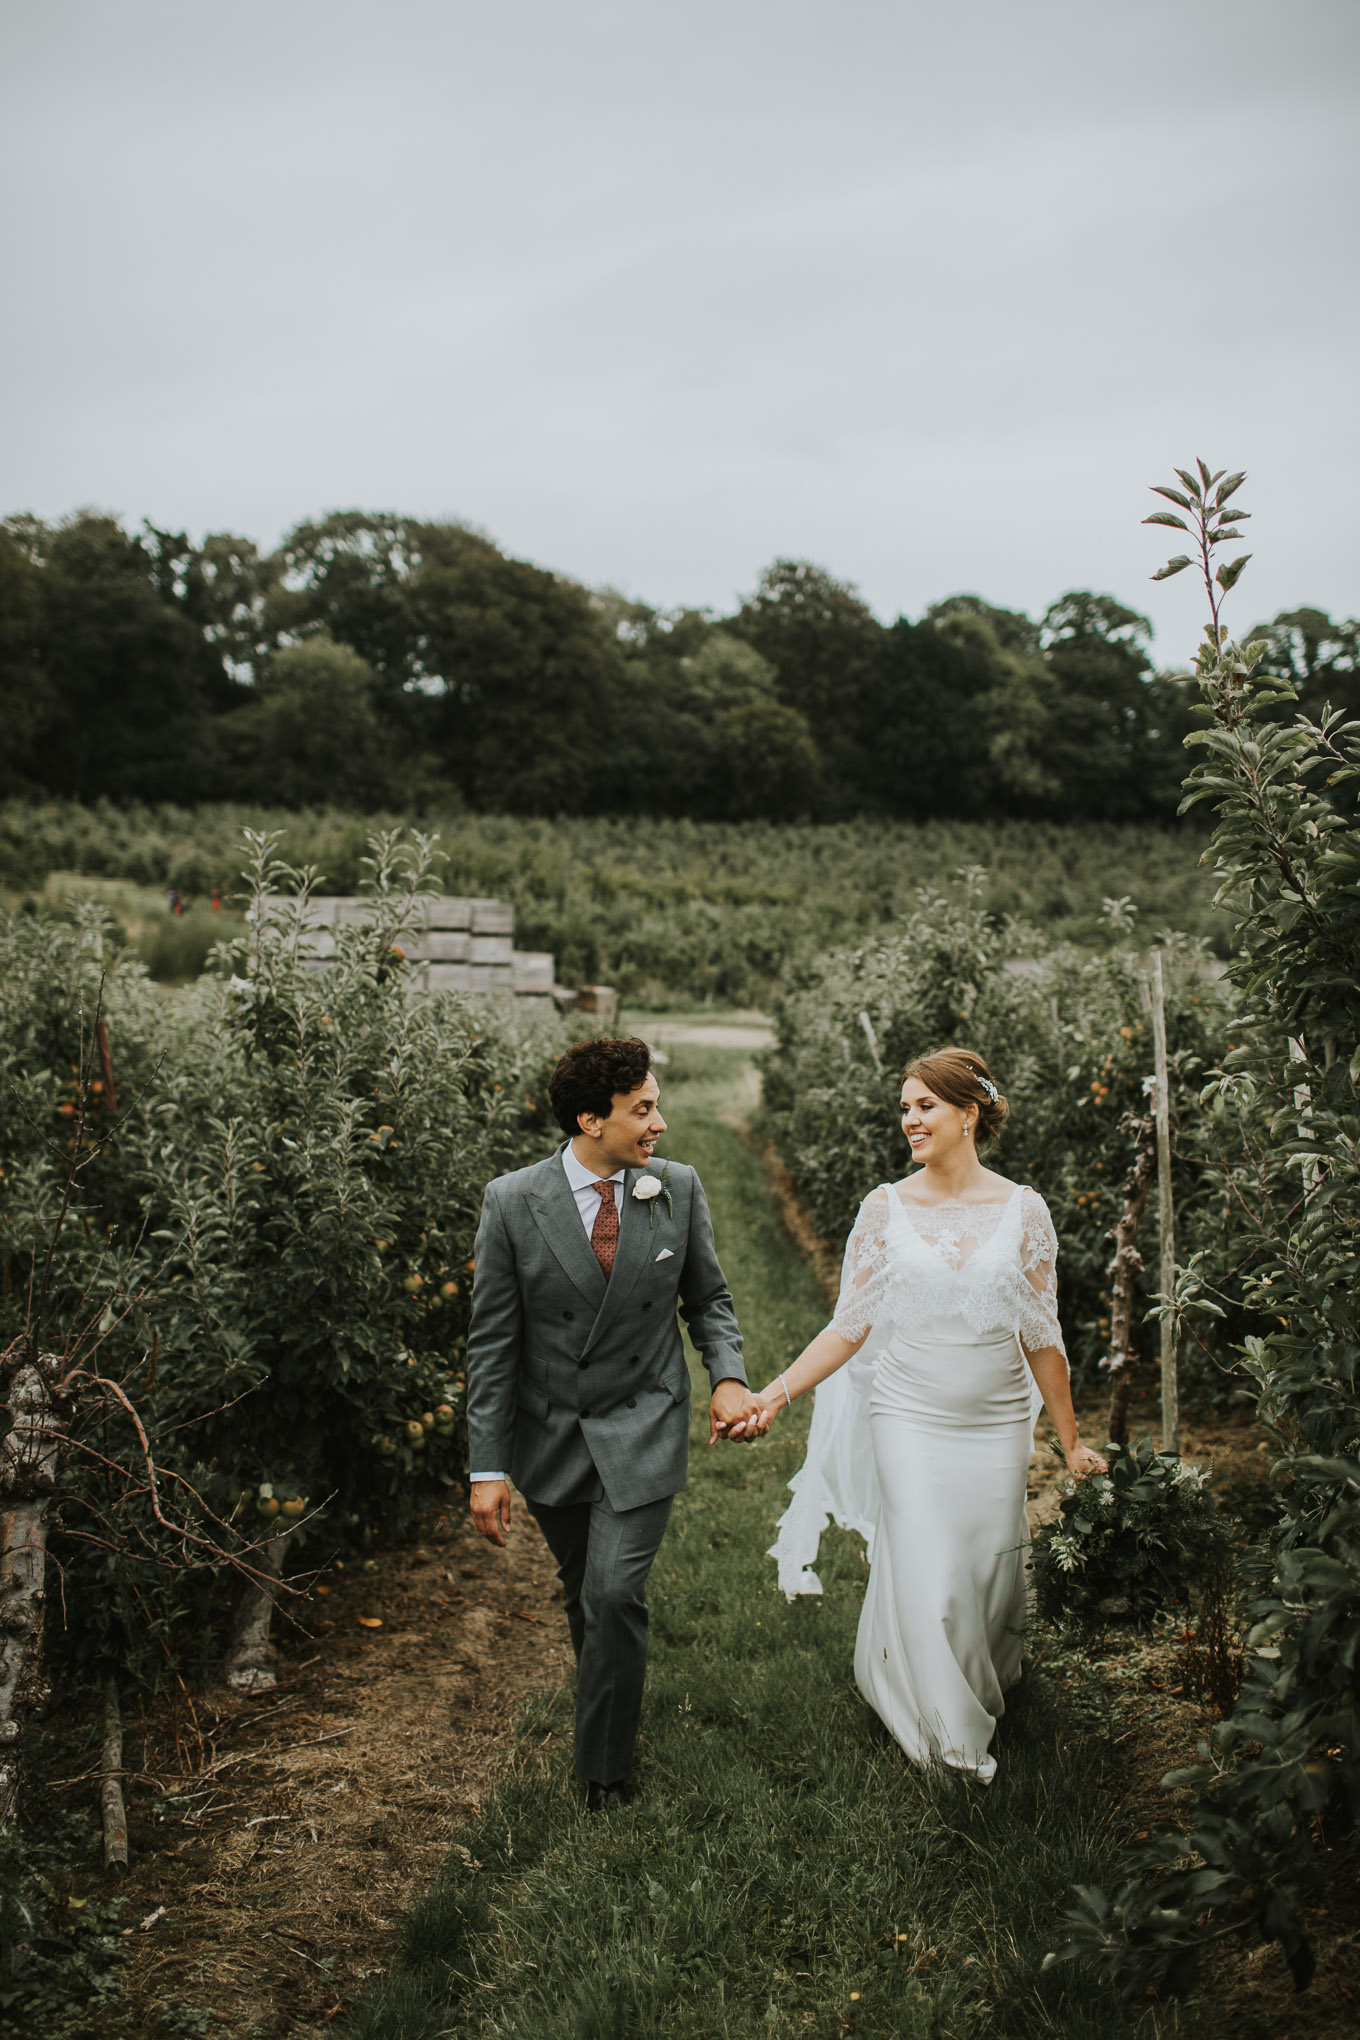
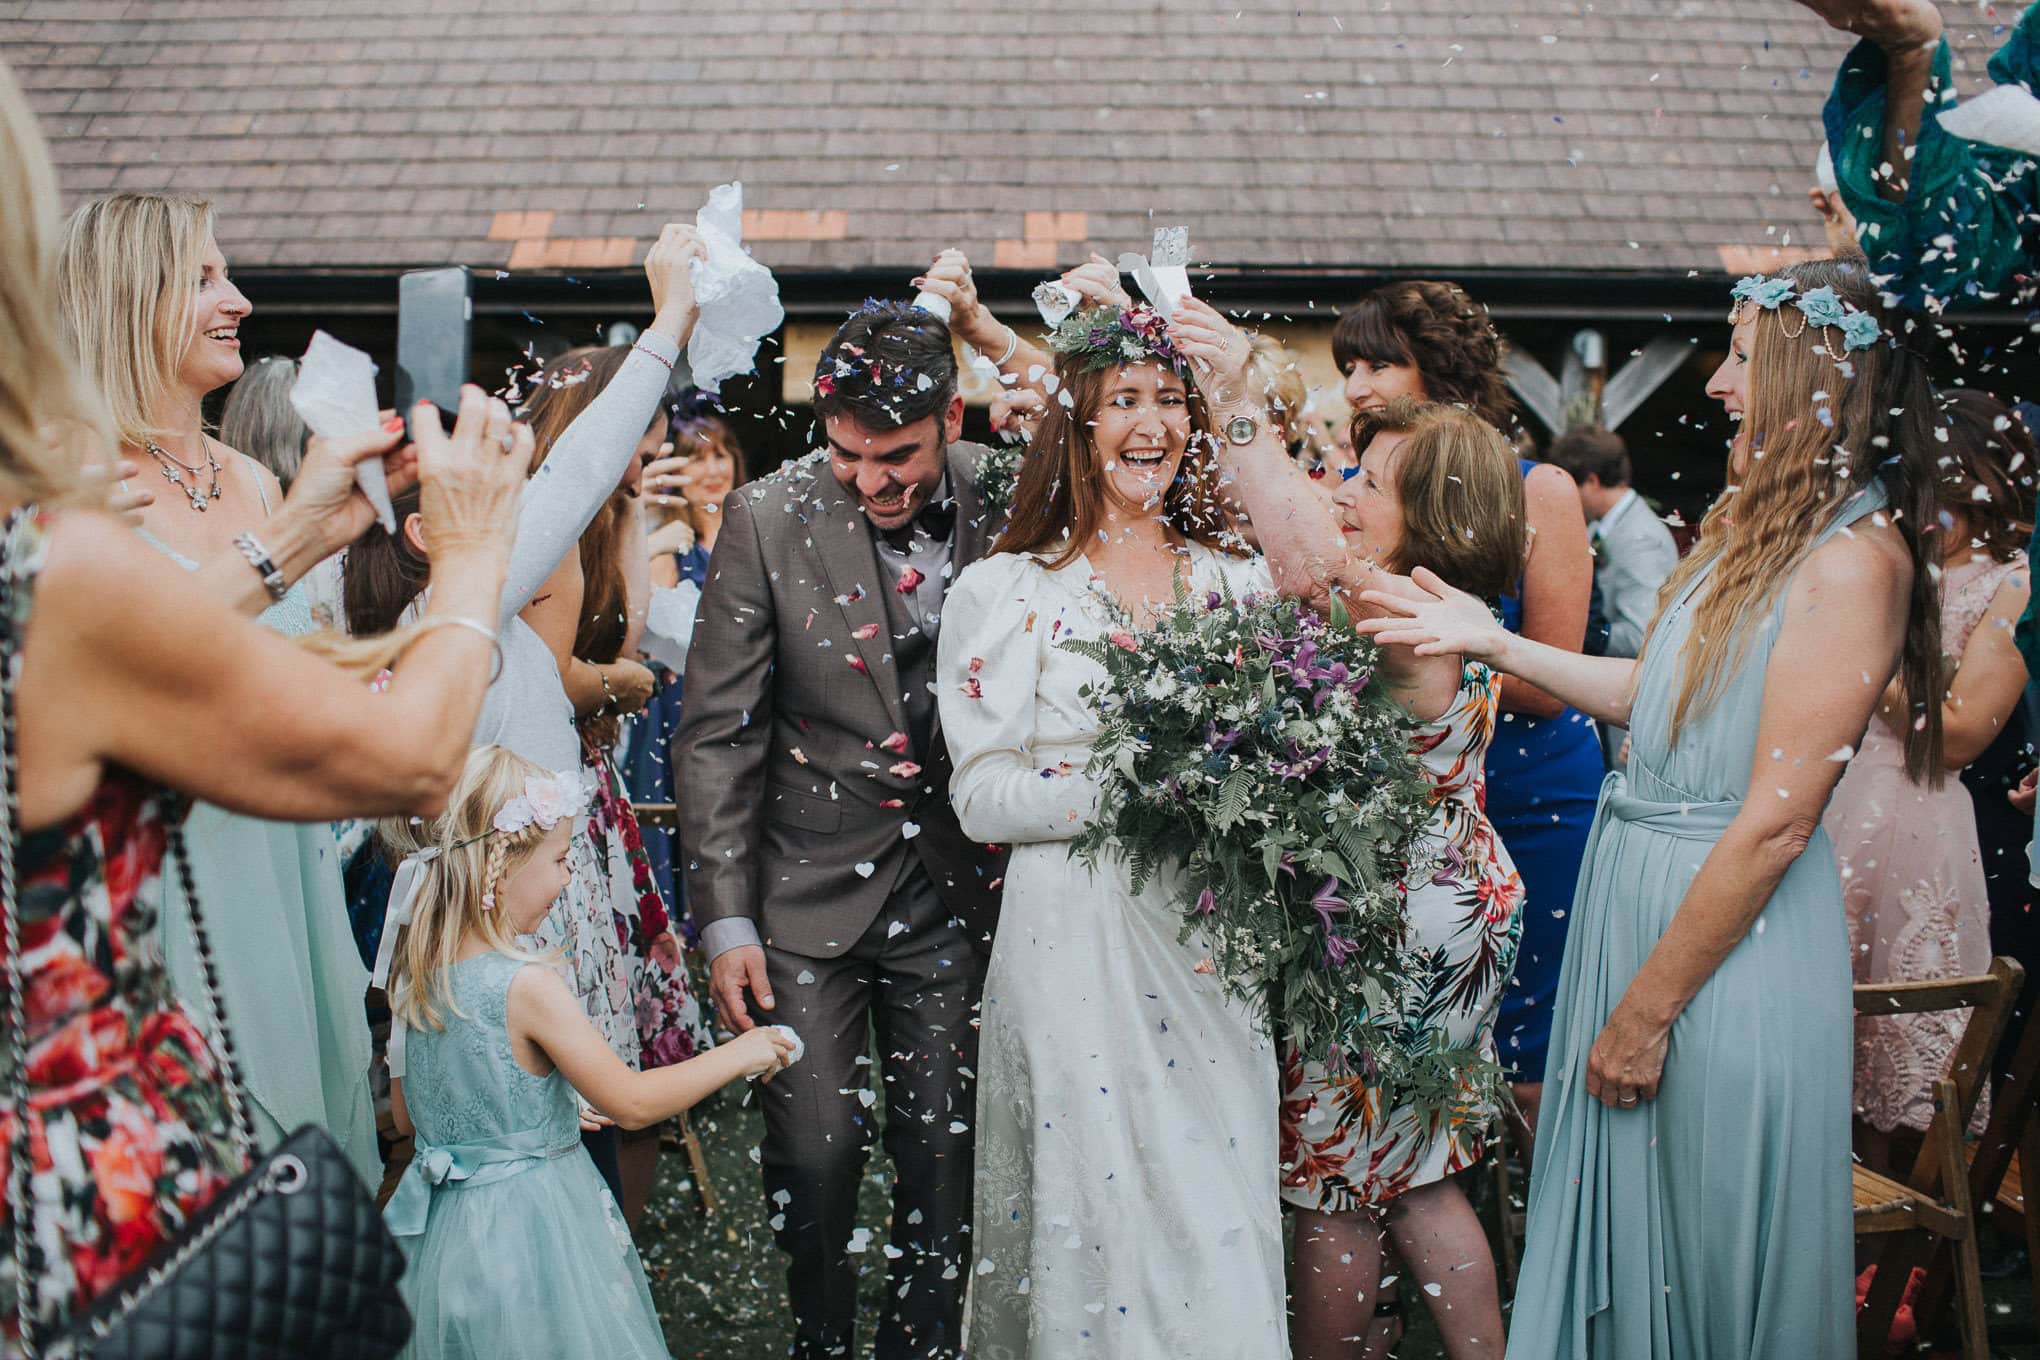
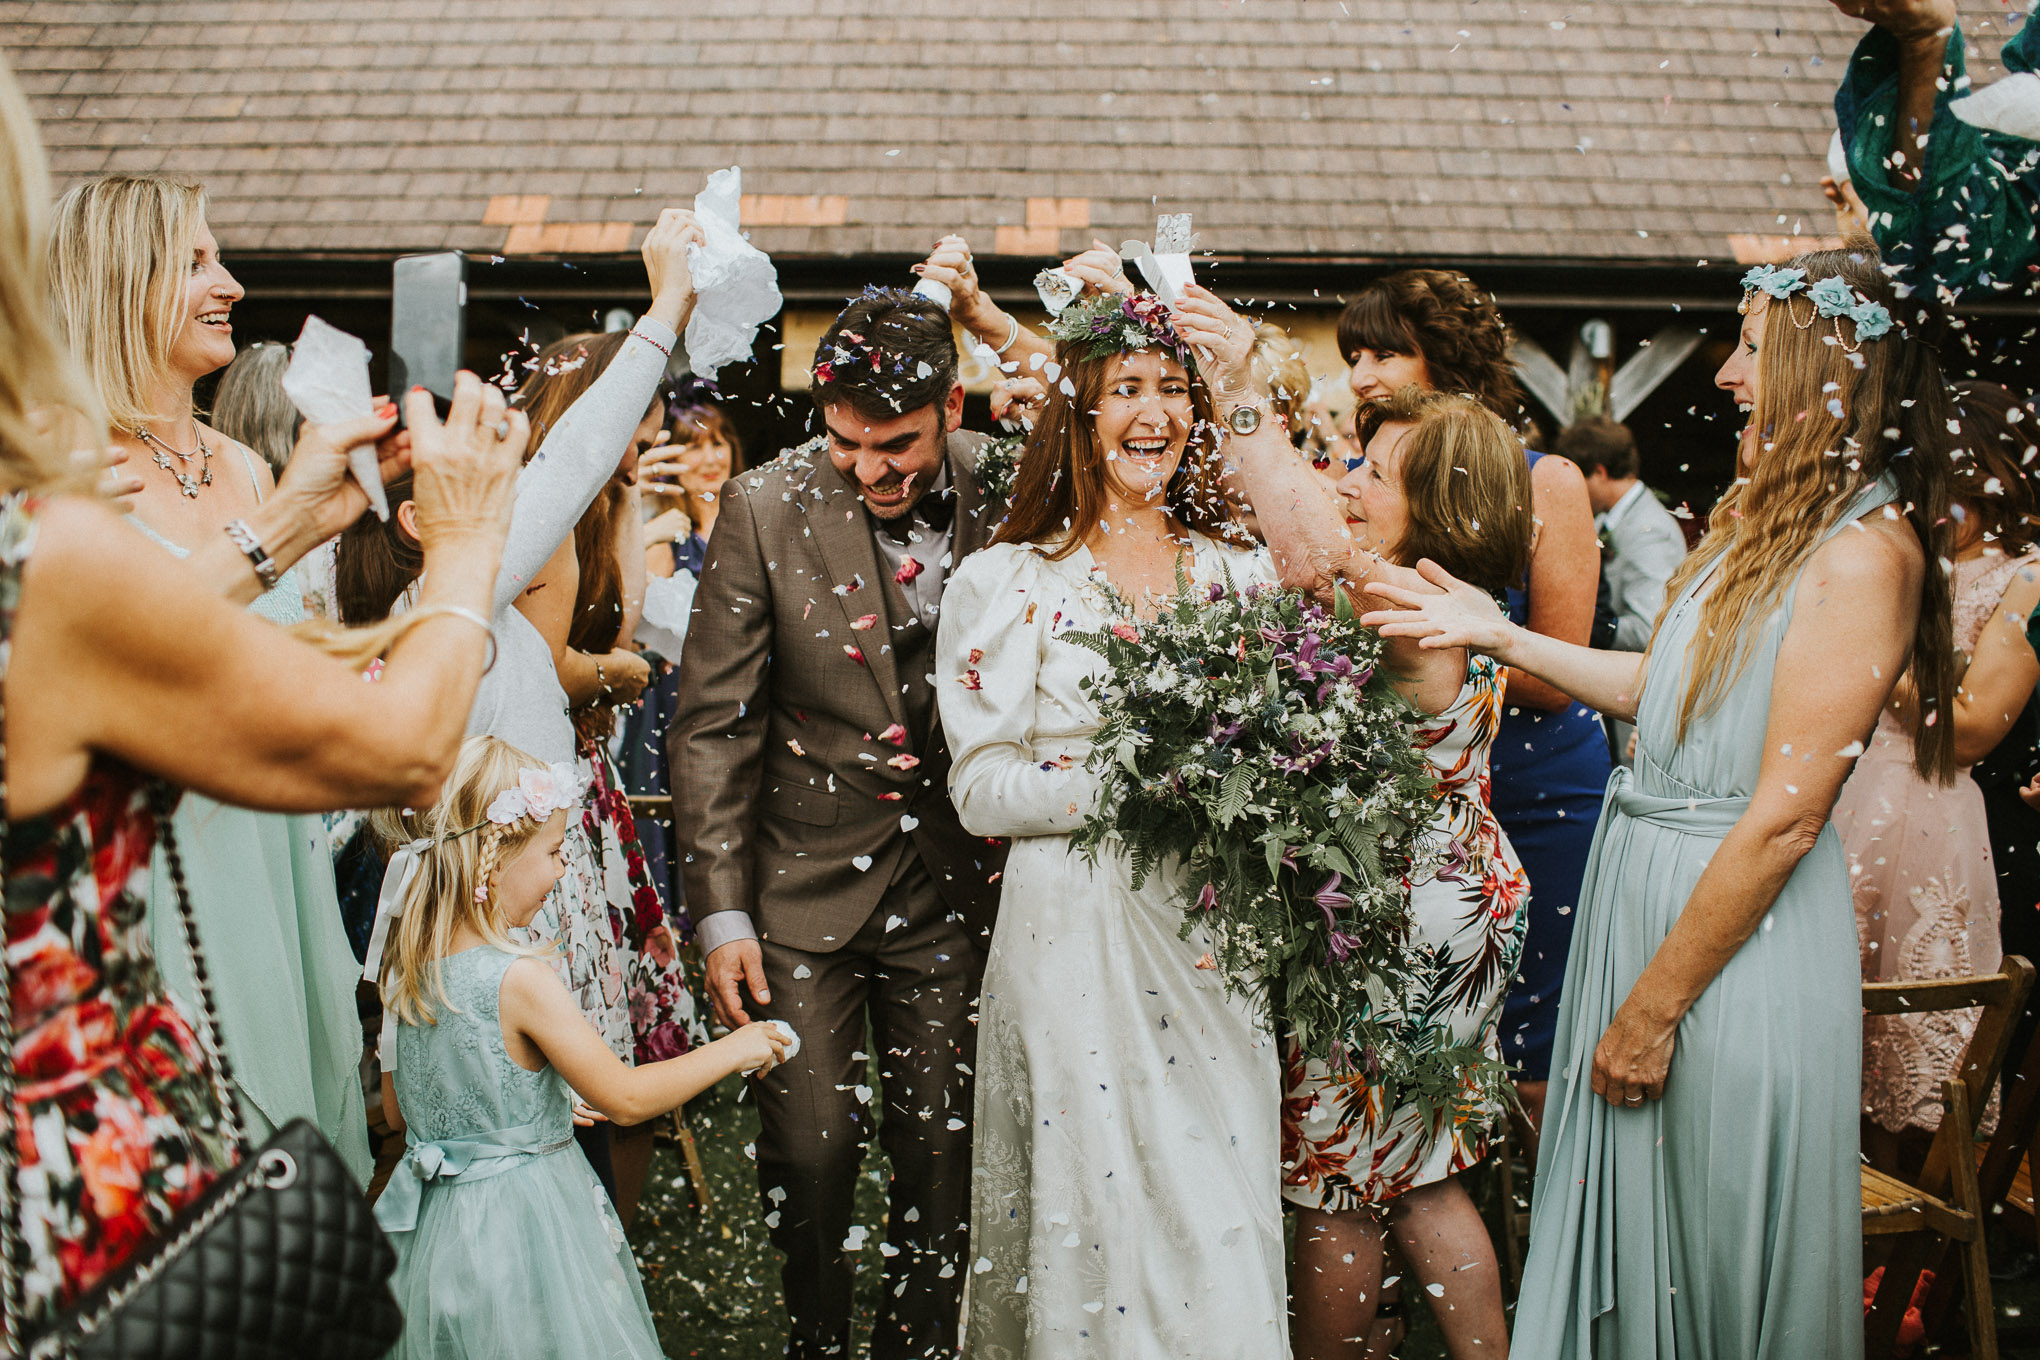
So there we have it, a huge whopping lift of the proverbial curtain at what’s gone on behind the scenes over the years to get my pictures looking just how I want them which I really hope you’ve enjoyed. Aaand it also gives me the chance to show you the changes for real below so you can check it out for yourself. But really, that’s the beauty of photography, it’s ability to ever changing as to how we see things and want the images to feel, it’s a true journey in itself.